There's something about loading up your bike that just feels like the start of an adventure - a weekend on the trails, a track day, or just a long-overdue service stop. But a sketchy tie-down job can turn that excitement into a heart-stopping moment real quick, the difference between a bike standing sturdy and secure and one doing the dreaded "tilt of shame" halfway down the road.
The good news: getting it right doesn't take rocket science. It's about having the right setup, a few smart habits, and a little patience. Here's how to load, strap, and unload your bike so you can focus on the fun part - the ride.
Step 1: Choose and Secure the Right Ramp
You're moving several hundred pounds of metal on wheels, so you want something sturdy and substantial underneath you. Not all ramps are created equal.
Moose Racing Tri-Fold Ramps
Extra-wide for better balance and easy storage. Heavy-duty aluminum construction, folds into quarters for storage, about 3' combined width. Weight limits run around 500 lb on the ramp and 350 lb on the steps.
RevArc Smart Steps
Push your bike up the ramp while you walk up four sturdy steel steps. The steps and ramp self-adjust to your tailgate height, mount in a receiver hitch, and fold for transport with the tailgate up or down.
Pro tip: choose a ramp rated for at least 1.5x the weight of your motorcycle, and wide enough that you can walk next to your bike as you load it.
How to Properly Hook Up Your Ramp
A ramp that shifts or kicks out mid-load can cause serious injury or damage. Every ramp setup should include a safety connection between the ramp and your truck or trailer.
Use a Ramp Safety Strap
Loop a safety strap through the ramp and around a solid anchor point - a tie-down loop, trailer rail, or receiver hitch.
Secure Both Ends
If you're running dual ramps, secure both of them.
Add Traction
Place a rubber mat or grip tape under the ramp feet if it's resting on smooth metal.
Center the Ramp
Line it up directly behind your loading path.
Step 2: Loading Your Motorcycle
Park on Level Ground
And engage your truck or trailer's parking brake.
Use a Spotter If Possible
One person balances while the other guides.
Walk the Bike In Gear
Clutch in, using the clutch to modulate your pace.
Use a Wheel Chock
Something like a Z-TRAK Moto-Chok or a Risk Racing Lock-N-Load can hold the bike upright while you strap it in.
Step 3: Choose the Right Straps
High-quality straps are a priority - they're the only thing keeping your bike from tipping or falling.
Moose Racing Soft Tie-Down Straps
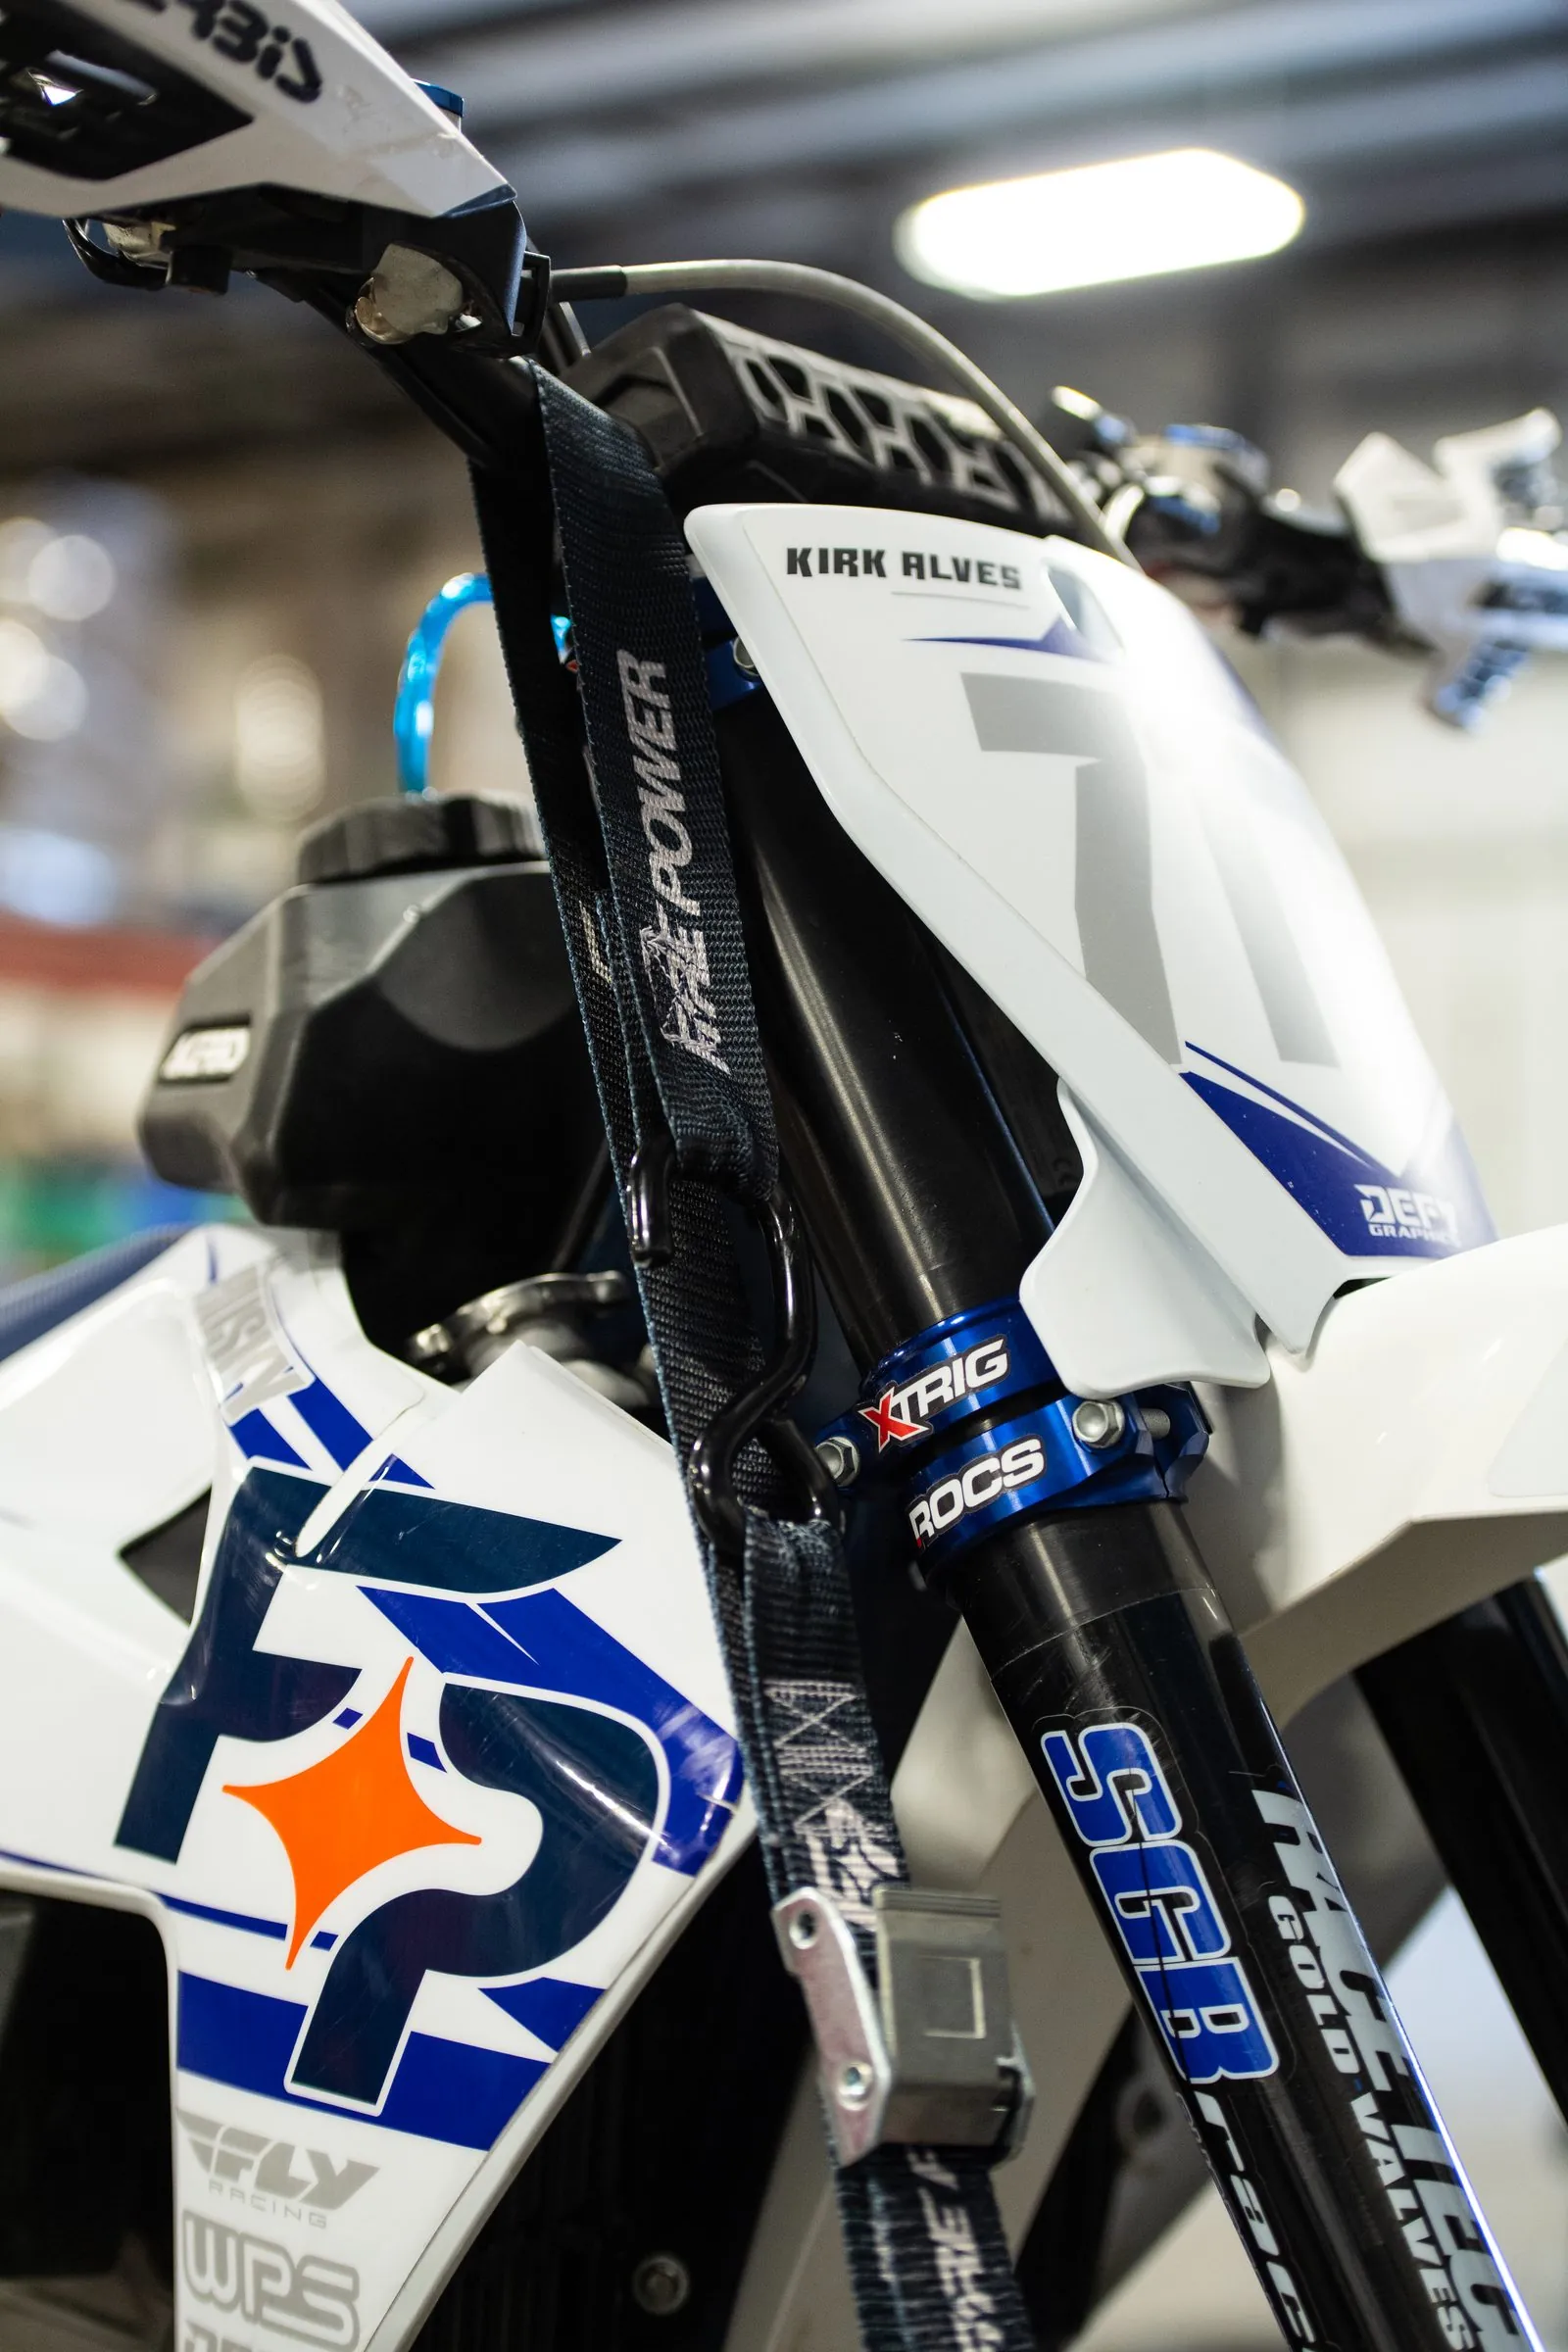
Heavy-duty, with integrated soft loops that protect your bars and paint. Our go-to for secure, paint-safe transport.
It should go without saying, but always use soft ties on handlebars, triple clamps, or fork tubes - never hook bare metal directly to painted or anodized parts.
Step 4: Fork Braces - Helpful or Hype?
You've probably seen those little plastic "fork braces" that sit between your tire and the lower triple clamp, meant to protect your suspension during transport - some claim they help prevent over-compression and seal damage. In theory it sounds great. In practice, not so much.
A Properly Tied-Down Bike Doesn't Need One
When your straps are placed correctly and tensioned evenly, your suspension is already doing exactly what it's meant to - absorbing pressure and keeping things stable. The brace isn't adding real security.
It Can Actually Make Things Worse
If a fork brace slips or shifts while you're driving, it can cause your straps to loosen - instantly throwing off your balance and potentially leading to a tip-over. That's a bad day for your bike and your truck bed.
The best approach is the simplest: skip the brace and tie it down right. Solid anchor points, soft loops, and quality straps do the job without the gimmicks.
Step 5: Positioning the Bike
Front Tire Tight Against the Wall or Rail
Snug against the truck wall or trailer front rail.
Kickstand Up
Leaving it down can twist or damage the stand.
Step 6: Tie-Down Angles and Points
Front Straps
Attach soft ties to the lower triple clamp or handlebars. Run the straps down and forward at a 45° angle, and compress the front suspension about 25-30% of its travel.
Rear Straps
Loop around the frame or passenger pegs, avoiding the exhaust. Run the straps down and back, applying light tension for stability.
Avoid over-tightening - compressing too far can blow fork seals or damage the suspension.
Step 7: Final Pre-Drive Checklist
Before you hit the road, double-check:
Before You Drive
- Bike Is Upright and Centered: Confirm before you touch a strap.
- Kickstand Is Up: Just to be sure.
- Front Wheel Locked: Against the wall or chock.
- All Straps Tight and Secure: Give each one a tug.
- No Contact Points That Could Scratch Paint: Check under every strap.
- Ramp Stored and Tied Down: So it's not sliding around back there too.
Drive a few miles and stop to recheck strap tension - straps can loosen as they settle.
Step 8: Avoid Common Pitfalls
A quick recap of the mistakes we see most often: not securing the ramp properly, over-compressing the forks, leaving the kickstand down, using low-quality straps, uneven strap angles, and loose strap tails that flap and scratch paint.
Step 9: Protect Against Damage
Use Microfiber or Foam Padding
Anywhere straps contact paint.
Add Grip Mats
Under the tires to prevent sliding.
Separate Multiple Bikes
With wheel chocks or bar separators.
Protect Fairings
With a soft towel during transport.
Step 10: Unloading Your Motorcycle Safely
Unloading is where most accidents happen - take it slow.
Check the Ground for Stability
Before you back down the ramp.
Secure the Ramp
Using the same safety strap setup you used when loading.
Remove Straps in Order
Rear straps first, then front straps.
Walk the Bike Down in Gear
Using the front brake to control speed.
Never Ride Down the Ramp
If you're unloading alone, back your truck up to a curb or small hill to reduce the ramp angle.
Pro Tips for Safe Motorcycle Transport
Invest in a Wheel Chock System
Something like a Condor or a Pit Bull trailer restraint.
Install E-Track or L-Track
Gives you flexible tie-down points wherever you need them.
Use Quality Soft Tie-Down Straps
For secure, paint-safe transport, every time.
Tying down a motorcycle looks simple until it isn't - a few shortcuts can lead to expensive mistakes. Take your time, secure your ramp, use quality straps, and always double-check your setup. We transport bikes daily at Fastback Moto and trust Moose Racing Soft Tie-Down Straps for their durability, grip, and gentle protection on paint and bars. If you're unsure about your setup, stop by the shop - we'll walk you through safe loading practices and make sure your bike travels as securely as you do.